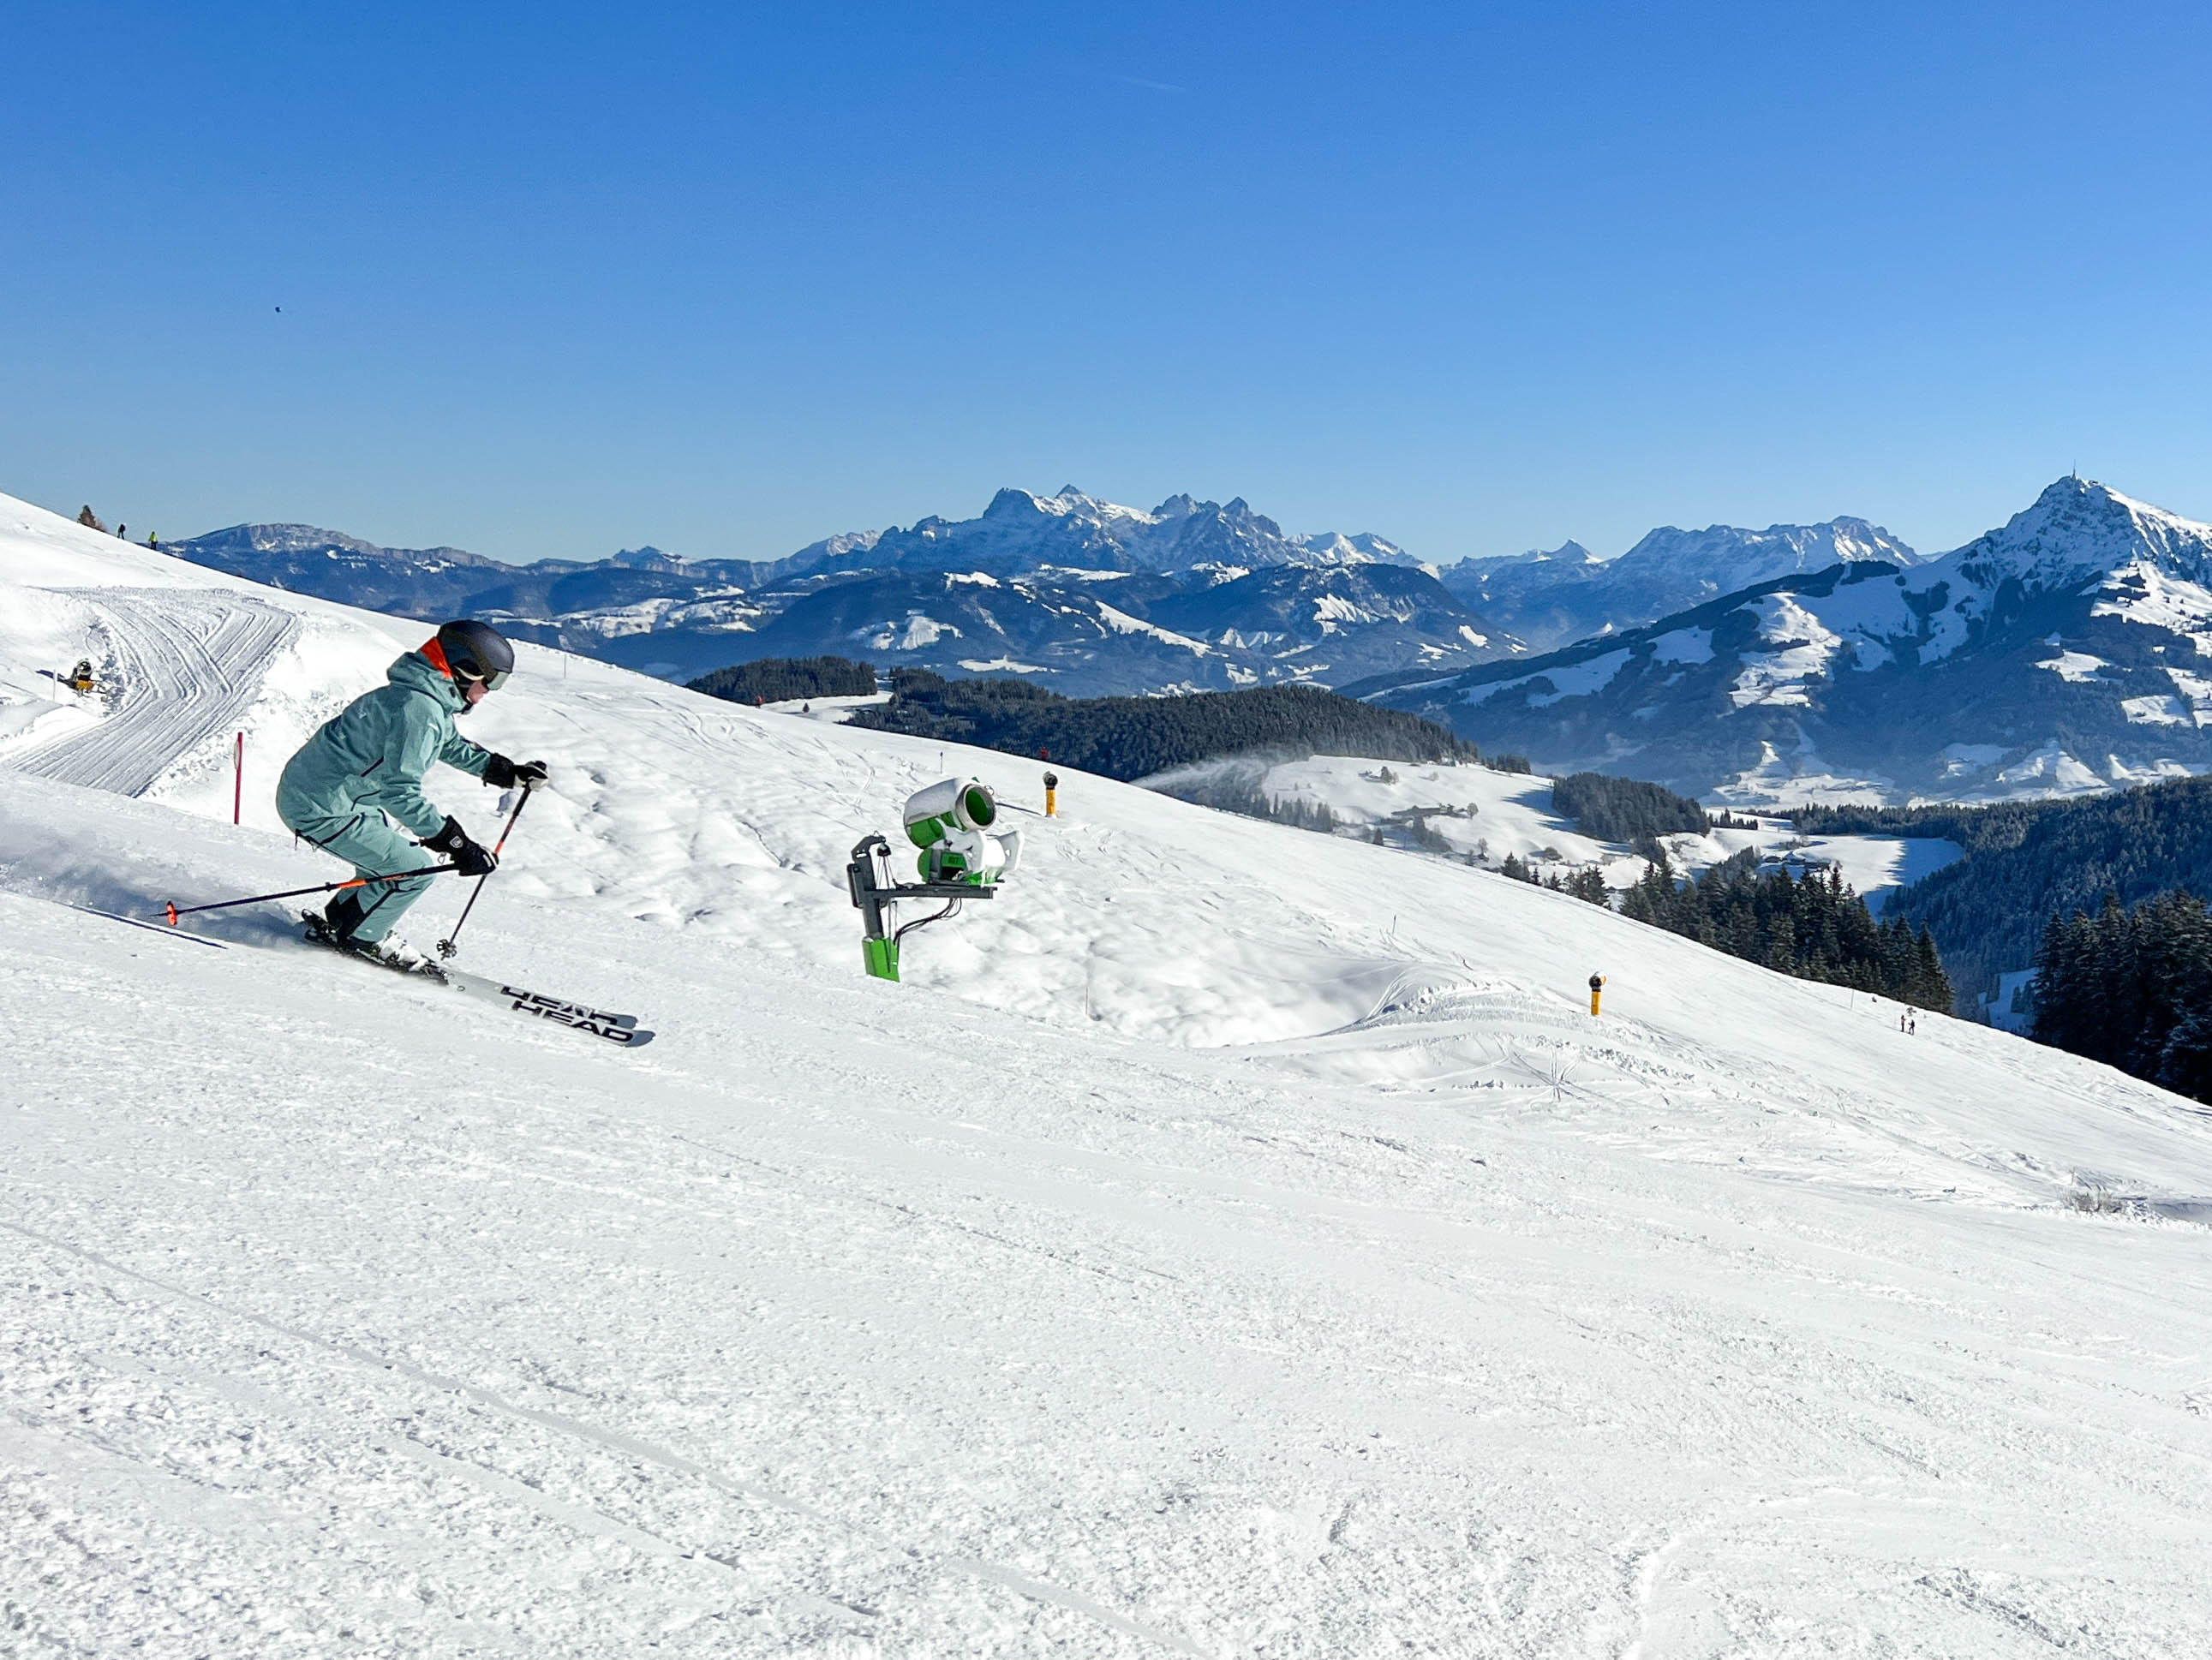
Carving refers to skiing on your edges, leaving a clean trail through the snow and not skidding. Today’s skis are perfectly tailored to allow for easy carving – some skis practically seem to carve themselves! Once you’ve mastered the snowplough and the wedge christie, it’s time to learn how to carve your skis without skidding at each turn. The major difference between carving and normal parallel turns is that while the back end of your ski will skid a little with each parallel turn, a carving turn will have the back end of your ski following the trace of the front end of your ski, for a clean turn.
Modern carving skis: sidecut and camber
If you look at your carving skis, you’ll notice they’re shaped like an hourglass, skinnier near your foot and wider at the front and back ends. The skinny part is called the sidecut, and it’s the secret to why carving has gotten so much easier in the past few decades. You can visualise the side of your ski as one part of a gigantic circle. The way the ski is designed, it wants to trace that circle in the snow.
The most important part of your skis is the edge, and more specifically, the effective edge, which is the part that touches the snow while you ski. Modern carving skis are cambered, which means the part under your feet is slightly lifted and doesn’t actually touch the ground unless you press down on it. When you lean your feet into the mountain, the curved edge forces the ski to bend slightly, forcing the ski to follow the curve and trace a portion of the huge imaginary circle – i.e. a turn.
Photo: © Head
Optimal ski radius for learning to carve: 12 to 16 metres
The shorter the effective edge, the faster the ski will turn. The sidecut of a pair of skis is described in metres, which correspond to the radius of the circle that the ski would trace if you let it complete its natural course. So, a pair of skis with a 12m radius will make smaller, shorter turns than a pair of skis with a 16m radius. You’ll choose your skis based on which kind of terrain you want to ride. Racers usually go for skis with a longer radius, allowing them more stability. Slalom racers, on the other hand, will choose skis with a shorter effective edge, allowing them to pull off quicker turns. Of course, you can always force the ski to make different-sized turns. But skis will turn easiest according to their radius.
Carving technique
Now that we’ve covered the basics of how a pair of skis works, it’s easier to understand what carving is. Basically, carving just refers to allowing the skis to do what they were made to do: trace clean curves in the snow. Proper carving is the most energy-efficient way to ski. To initiate a turn, all you have to do is roll your knees to one side, allowing the edges to grip the snow and follow their natural curve.
As with parallel turns, you should put your weight on your outside ski when initiating a carving turn. Dig your edges into the snow and let your legs swing back and forth as you turn, keeping your body fairly upright. You’ll find you can only carve when conditions are perfect: the snow must be firm, to allow for good grip, but not too icy. Your skis should have sharp edges. Since carving doesn’t allow you to brake by skidding a little every turn, you’ll also want to find a piste that’s not too steep, or else you’ll go way too fast.
Perfecting your carving technique
Carving isn’t easy, and it should only be attempted once you’ve mastered parallel turns and are comfortable skiing on difficult slopes in all conditions. Check out our tips for mastering carving and consider booking ski lessons.

